Since I just listed my original painting, Symphoni, for sale on Etsy
here, I thought I would take a moment to share my step by step process with you all for this painting! I always post these photos on my
Facebook Fan Page, but thought it might be nice to have them all in one area for easy viewing. I hope that you all enjoy it!
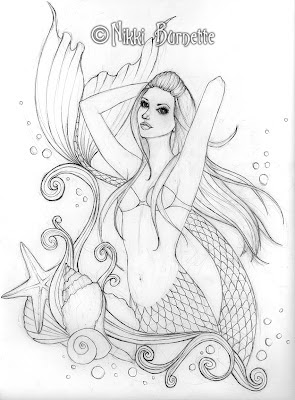 |
| I always start with a sketch using good old pencil and paper. I have never gotten the hang of sketching on watercolor paper or with a tablet digitally. I am a messy sketcher, but I try to get the lines as clean as I can. Since I use ink to outline all my lines on my final paper, it's important to know where they are all going. |
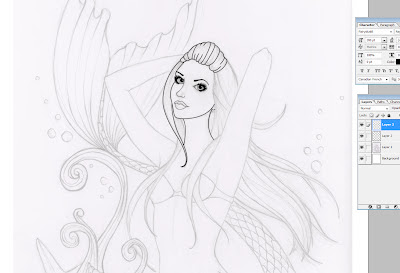 |
| Next, I head into Photoshop. I scan my original sketch and then start creating linework digitally using the pen tool. I like to make nice clean linework for rubber stamps and for my coloring pages. I also use these lines on my final watercolor paper. Here, I'm starting with the face. I always start with the face and eyes to make sure I get them right before moving on. |
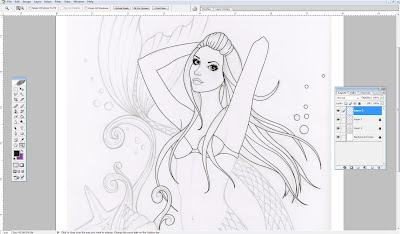 |
| More linework in Photoshop using the pen tool. |
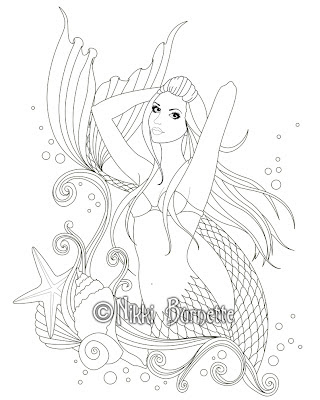 |
| Here is the finished linework. |
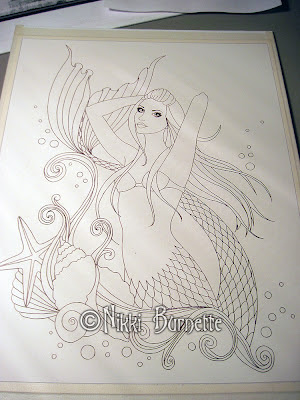 |
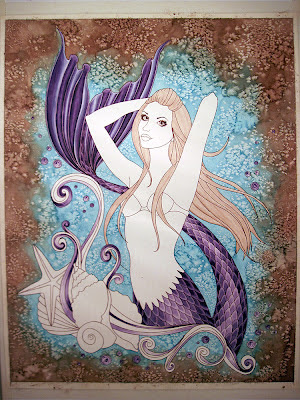
| Next, I print the linework onto my final watercolor paper very faintly. Then I use a dip pen and brown ink and ink over the lines again completely. |
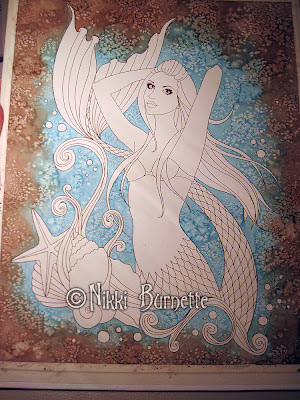 |
| Here I've started working on the background. I usually start on the background, because it's the messiest part. It's easier to lift out and splotches or splashes that happen when the mermaid itself isn't painted yet. I've used salt to create the textured effect. I use this same background style on all of my Portrait Series paintings. |
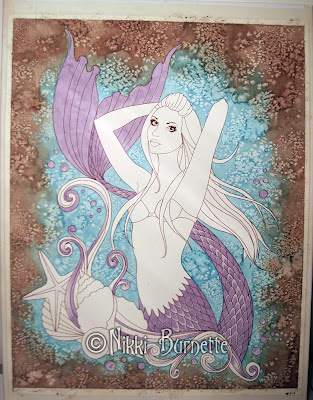 |
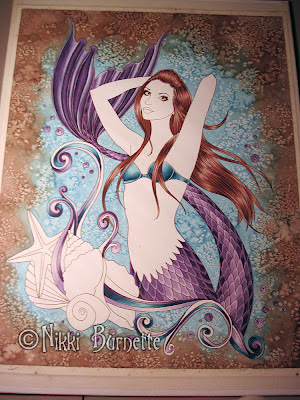
| Next, I've started to work on the purple tones. I tend to work on the same colors at the same time so that I don't have to remix later on. |
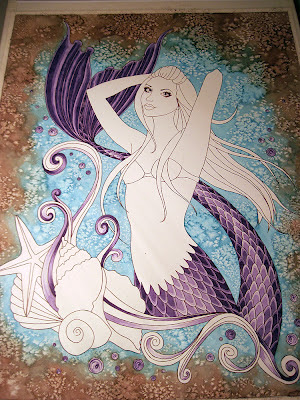 |
| In this photo, I've finished adding in all the purple tones. |
 |
| Here, I have blended together all my layers to create a nice smooth look. I've also laid in the base layer for the hair. For the initial hair layer, I always paint each individual strand. I do this to get the flow of the hair correct and add a bit of texture. Most of it will be covered up later on. |
 |
| Here I've finished the hair. I added lots of depth by adding darker colors. I also added random colors like blue, purple and red to make it seem a little more realistic and less flat. |
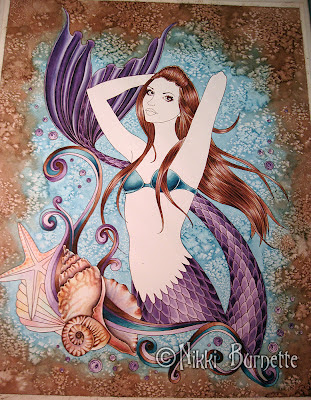 |
| In this photo, I am working on the shells. I was so pleased with the way that they came out. I used a different technique and actually started by painting a bunch of random colors on each shell. You can see this on the starfish and the shell below it. I found that this toned the paper and created an interesting effect. It's just important to not get too dark at the beginning. Then I added more brown and tan tones on top, but accented with red and blue to make them more realistic. |
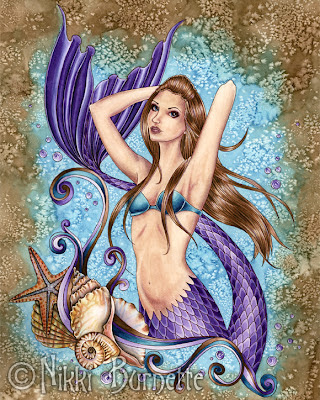 |
| And here she is complete! I always do the skin tone last. It's usually the lightest part of my painting so it will show any splashes or splotches very easily. When it's not painted yet, it's much easier to lift out my mistakes, so that's why I save it until last. |


No comments:
Post a Comment