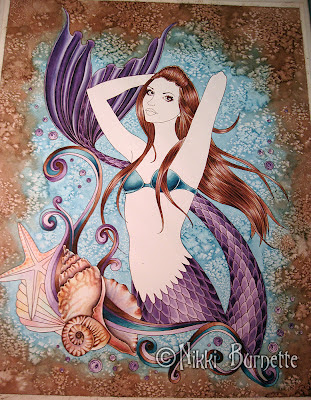
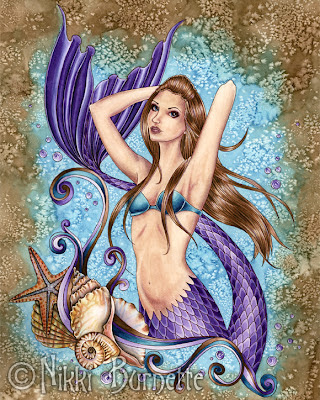
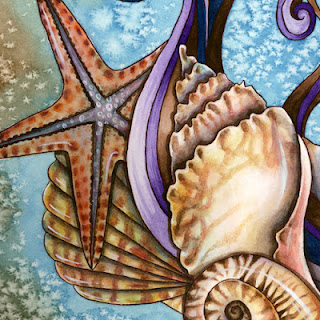
Hi everyone! Sorry for the delay on announcing the winner of this contest. I've been busy on some other projects and honestly I just had a hard time deciding on what name to pick! There were so many awesome names suggested. It definitely made it tough!
But I have decided to name her Copper! Congratulations to Lindsay Nucera! You will receive a 5x7" print of the finished piece. Thanks to everyone who has participated in my naming contest. I will definitely have more in the future!
Thursday, June 28, 2012
Wednesday, June 27, 2012
Discounts for Buying Multiples - Any 3 8x10 Prints for $30
Hi everyone! I just wanted to let you know that I'm in the process of restructuring my Etsy shop to offer you big
savings for purchasing in multiples! I have my first deal up and ready
to go. Now you can purchase any 3 of my 8x10 prints for only $30! They
retail for $13 each, so that's a savings
of $9 if you buy 3 at a time. If you want more than 3, the special is
good for buying more 8x10 prints. I have over 50 images to choose from
and I'm adding more all the time! Hope you enjoy this special. =)
Tuesday, June 26, 2012
Arden - "Whimsical Wash" Original Painting #1 of 5 - Facebook Auction
I'm having a new auction on my Facebook Fan Page! Bid on it here.
~Original Whimsical Wash Painting - Arden #1/5 - This is one of my brand new creations! I call them Whimsical Washes and they're sort of a combination between a limited edition print and an original painting.
What I did was print out the linework on watercolor paper for my piece Arden. You can see the original painting here.
Then I painted it in very light washes and also added darker textures around the edges. I really like the loose flowing style that you can achieve with watercolor, but I don't often get to paint like this, so it was really fun!
So, what I was thinking is that I will create these Whimsical Washes for some of my paintings! Obviously some of my paintings will work better for this than others. Super detailed pieces will probably not work well. So I can't promise all of my pieces will be turned into Whimsical Washes, but I'm sure that a lot of them will!
They will be limited editions of only 5.
This painting measures 8x10" and is signed, titled, dated on the front along with the limited edition number. The actual piece of paper measures 8.5x11" so there is a small white border in case you want to mat or frame it.
Hope you enjoy it! If you would like to bid on this piece, you can do so here.
Symphoni - Mermaid Watercolor Painting - Step by Step Process
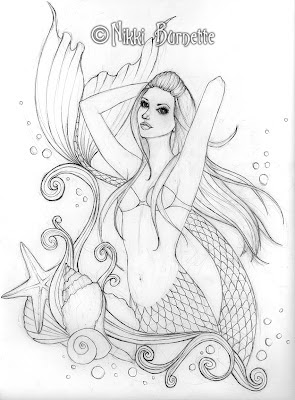
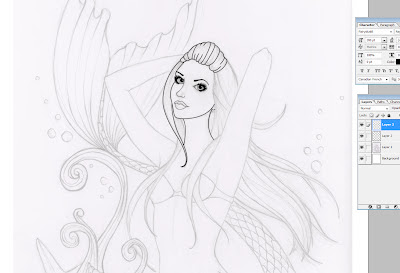
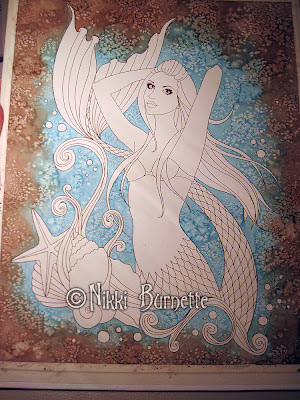
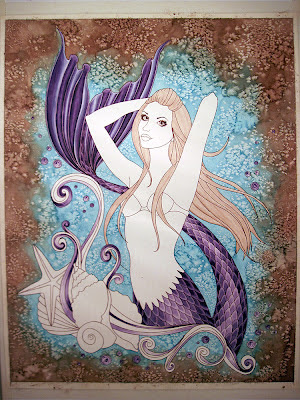
Since I just listed my original painting, Symphoni, for sale on Etsy here, I thought I would take a moment to share my step by step process with you all for this painting! I always post these photos on my Facebook Fan Page, but thought it might be nice to have them all in one area for easy viewing. I hope that you all enjoy it!
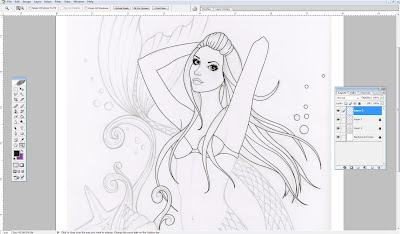 |
| More linework in Photoshop using the pen tool. |
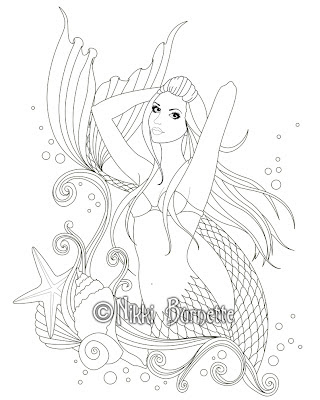 |
| Here is the finished linework. |
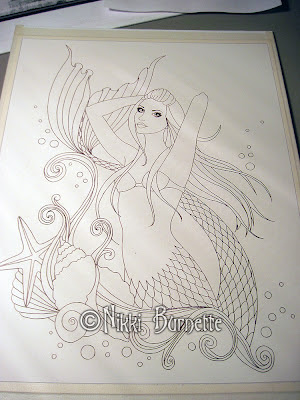 |
| Next, I print the linework onto my final watercolor paper very faintly. Then I use a dip pen and brown ink and ink over the lines again completely. |
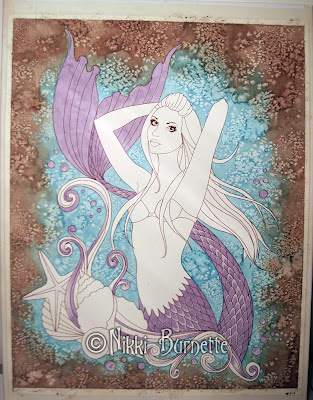 |
| Next, I've started to work on the purple tones. I tend to work on the same colors at the same time so that I don't have to remix later on. |
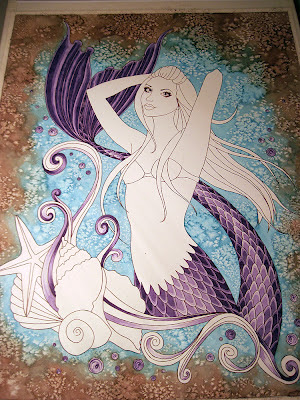 |
| In this photo, I've finished adding in all the purple tones. |
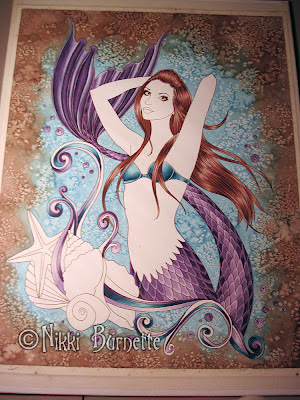 |
| Here I've finished the hair. I added lots of depth by adding darker colors. I also added random colors like blue, purple and red to make it seem a little more realistic and less flat. |
Symponi - Original Mermaid Watercolor Painting For Sale
I just listed my new original painting Symphoni for sale in my Etsy shop! I will list all of
the details below. You can purchase her from my Etsy shop here or you can send me an email to nikki@aurella-art.com. I am asking $300
plus shipping for her. I also offer payment plans as well. Thank you so
much for your interest in my artwork!
Title: Portrait of a Mermaid #2 - Symphoni
Size: 11x14" (cut to exact size)
Media: Watercolor and Ink
Date: 2012
This is my new ORIGINAL 11x14" watercolor painting, Symphoni. Symphoni is part of my Portrait Series where I depict my lovely fantasy ladies in a more closeup pose. It's almost as if someone took a snapshot of them in their natural environments. I paint them usually from their waist up so that you can see more intricate details on their face, hair and clothing. I also paint them with a very fun textured watercolor background and in just a few colors.
Within my main Portrait Series, I have sub series where I paint portraits of different fantasy characters such as witches, steampunks, vampires, fairies, etc... Symphoni is Portrait of a Mermaid #2 and is the 8th portrait overall in my Portrait Series. Symphoni is painted in beautiful shades of brown, teal and purple. There is a grouping of shells and scroll work at the bottom left of the painting that adds to the musical feeling of the painting. I really enjoyed painting Symphoni and hope that you may consider adding her to your collection!
She is painted on an 11x14" piece of hot press watercolor paper. Symphoni is signed, titled and dated on the back. She will come shipped to you safe and sound in a sturdy box.
Symphoni is also featured on prints, magnets, stickers, pocket mirrors and more in my shop! Click on this link to see all of the options.
Please note: Colors may vary from monitor to monitor, but every precaution has been taken to make the image as close to the original as possible. Watermarks do not appear on the painting.
Visit my Etsy shop here.
For more of my original paintings, visit this link.
Sunday, June 24, 2012
Happy Fairy Day!
Happy Fairy Day everyone! Did you know that June 24th
is Fairy Day where everything mystical and magical about the fairy is
celebrated? Well, I couldn't let the day go by without offering you a
sale in my Etsy shop! So to celebrate, I'm offering 20% off my entire shop for today June 24th and tomorrow June 25th!
That's 20% off of everything including original paintings, sketches, prints, stickers, keychains and more. Just enter coupon code FAIRYDAY2012 upon checkout and let me know if you have any questions! =)
That's 20% off of everything including original paintings, sketches, prints, stickers, keychains and more. Just enter coupon code FAIRYDAY2012 upon checkout and let me know if you have any questions! =)
 |
| Stickers of all shapes and sizes! |
 |
| Keychains |
 |
| Printable Collage Sheets for Crafts |
 |
| Printable Coloring Pages and Digi Stamps |
 |
| Buttons |
 |
| ACEO, 5x7 and 8x10 Prints |
Friday, June 22, 2012
New Sketch - Rayne
I worked on a new sketch today! I was
inspired by the raven. It was a really fun drawing to work on and I plan
to paint her very soon! I've named her Rayne. I hope you all enjoy her.
=)
Thursday, June 21, 2012
Lissa - Original Framed Painting Auction on Facebook
I'm so excited to share my new fairy painting with you, Lissa! I am auctioning Lissa off on my Facebook Fan Page. All the details are below!
This auction will include the following:
~Original Lissa Framed Watercolor Painting - Lissa is my brand new original fairy painting! She's painted in vibrant and fresh shades of green and purple. She has very delicate fairy wings and is surrounded by a butterfly, tall grass and beautiful flowers!
And the best part....Lissa will come to you already framed! I placed her in this gorgeous baroque, intricate style green frame that matches the painting perfectly. It is a table top frame, so it will sit perfectly on a bookshelf or table. The frame's outer dimensions measure approximately 9"x12". The frame itself is of a resin type material. It has a glass pane in the front and black velvet on the back. You could easily add a hangar if you wanted to hang this piece on the wall.
The original painting of Lissa measures just slightly under 5x7." I had to trim the edges slightly so she would fit into the frame. I have depicted her in this picture in her beautiful frame as well as a close up so you can see all the detail.
I hope you enjoy Lissa and will consider bidding on her to add to your collection! Thanks for your support!
Wednesday, June 20, 2012
New Painting - Serafina & Firenze
Well, here she is! This is my new original painting, Serafina &
Firenze. It measures 11x14" and is painted in watercolor and ink. This
was a commissioned piece, so of course the original has been sold, but I
will have prints and products available of Serafina & Firenze in my Etsy shop very soon!
I really enjoyed working on this painting. This witch represents the fire element and I will be doing an entire series of witches representing all of the elements. I really hope you enjoyed watching the progression of this piece and also hope you like the finished painting! Thanks for all your kind words along the way. =)
I really enjoyed working on this painting. This witch represents the fire element and I will be doing an entire series of witches representing all of the elements. I really hope you enjoyed watching the progression of this piece and also hope you like the finished painting! Thanks for all your kind words along the way. =)
Thursday, June 14, 2012
Lissa Linework
I just thought I would share the linework that I just completed in Photoshop for my new fairy that I named Lissa! I am hopefully going to start on the watercolor painting this afternoon. I can't wait to get started! But first, I am going to go make some brownies because it's my husband's birthday today. =)
Tuesday, June 12, 2012
Kenda - New Original ACEO Painting - Facebook Auction
I wanted to show you all my new ACEO painting and let you know that she is up for auction over on my Facebook Fan Page! I haven't created an ACEO in years. These miniature pieces of art measure only 2.5x3.5" and are so fun to paint. This one is a cute little witch painting with a moon, bats and clouds. Some of my favorite things!
I have decided to put the original painting up for sale as an auction on my Facebook Fan Page with no minimum bid. The auction will go on through Sunday 6/17/12 @ 7:00 pm EST, so be sure to check out my fan page and put in a bid if you would like her!
I have decided to put the original painting up for sale as an auction on my Facebook Fan Page with no minimum bid. The auction will go on through Sunday 6/17/12 @ 7:00 pm EST, so be sure to check out my fan page and put in a bid if you would like her!
New Witch Sketch
Here's sketch #2 for today! A fun Halloween witch piece. I really like
how this piece came together, so I think I'll definitely be doing this
piece as a full, finished painting 11x14 size. But I may also do a
cropped ACEO or small format painting as well. =)

New Fairy Sketch
I've been working on sketching new pieces all yesterday and today! Here
is my first drawing, a very pretty fairy in the flowers and grass! She
will definitely be turned into an ACEO or small format painting and
perhaps a large painting at some point. Hope you all enjoy her. =)
Sunday, June 10, 2012
Cheyanna - Fox Fairy Watercolor Painting - Step by Step Process
I thought it might be fun to make a new blog post every time I finish a painting to show my step by step progress photos in one easy to view place. I always post these as I'm painting on my Facebook Fan Page, but thought I'd share them in my blog as well! I'll give just a little description to try to explain my process as I'm painting. I hope that you all enjoy them!
This piece is Cheyanna, my fox and fairy painting. I painted this at the beginning of 2012. She is an 11x14" watercolor and ink painting. The original is still available for sale here! And you can also purchase prints and products of this image in my Etsy store here.
This piece is Cheyanna, my fox and fairy painting. I painted this at the beginning of 2012. She is an 11x14" watercolor and ink painting. The original is still available for sale here! And you can also purchase prints and products of this image in my Etsy store here.
 |
| This is my initial sketch for Cheyanna. I always sketch everything out at first with good old paper and pencil! |
 |
| Next, I start to create the linework in Photoshop to create nice clean and crisp lines. I use these for the final watercolor painting, for rubber stamps and for my coloring pages that I sell. |
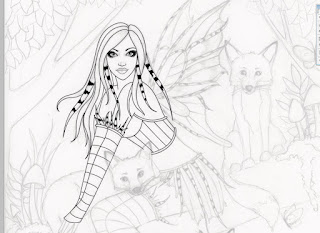 |
| I use the pen tool in Photoshop and generally start on the eyes and face first to make sure I get them correct. |
 |
| More work on the fairy shown here without the sketch behind her. |
 |
| Started on the leaves and the fox face. So many lines! |
 |
| Completed linework for Cheyanna. |
 |
| Here I'm starting on the red shades. They always look slightly pink when first getting started. It takes many layers to build up a nice deep red color. |
 |
| Finishing up the red tones in this photo. |
 |
| Starting on the foxes and finishing up the trees. You can see I went really dark on some areas of the tree using black. I really like this look as it creates deep grooves and crevices in the tree. |
 |
| Nearly done! |
 |
| This is the completed piece! |
Subscribe to:
Comments (Atom)


